Showing posts with label Visible Image. Show all posts

Wednesday, May 28, 2025

Visible Image - Father's Day


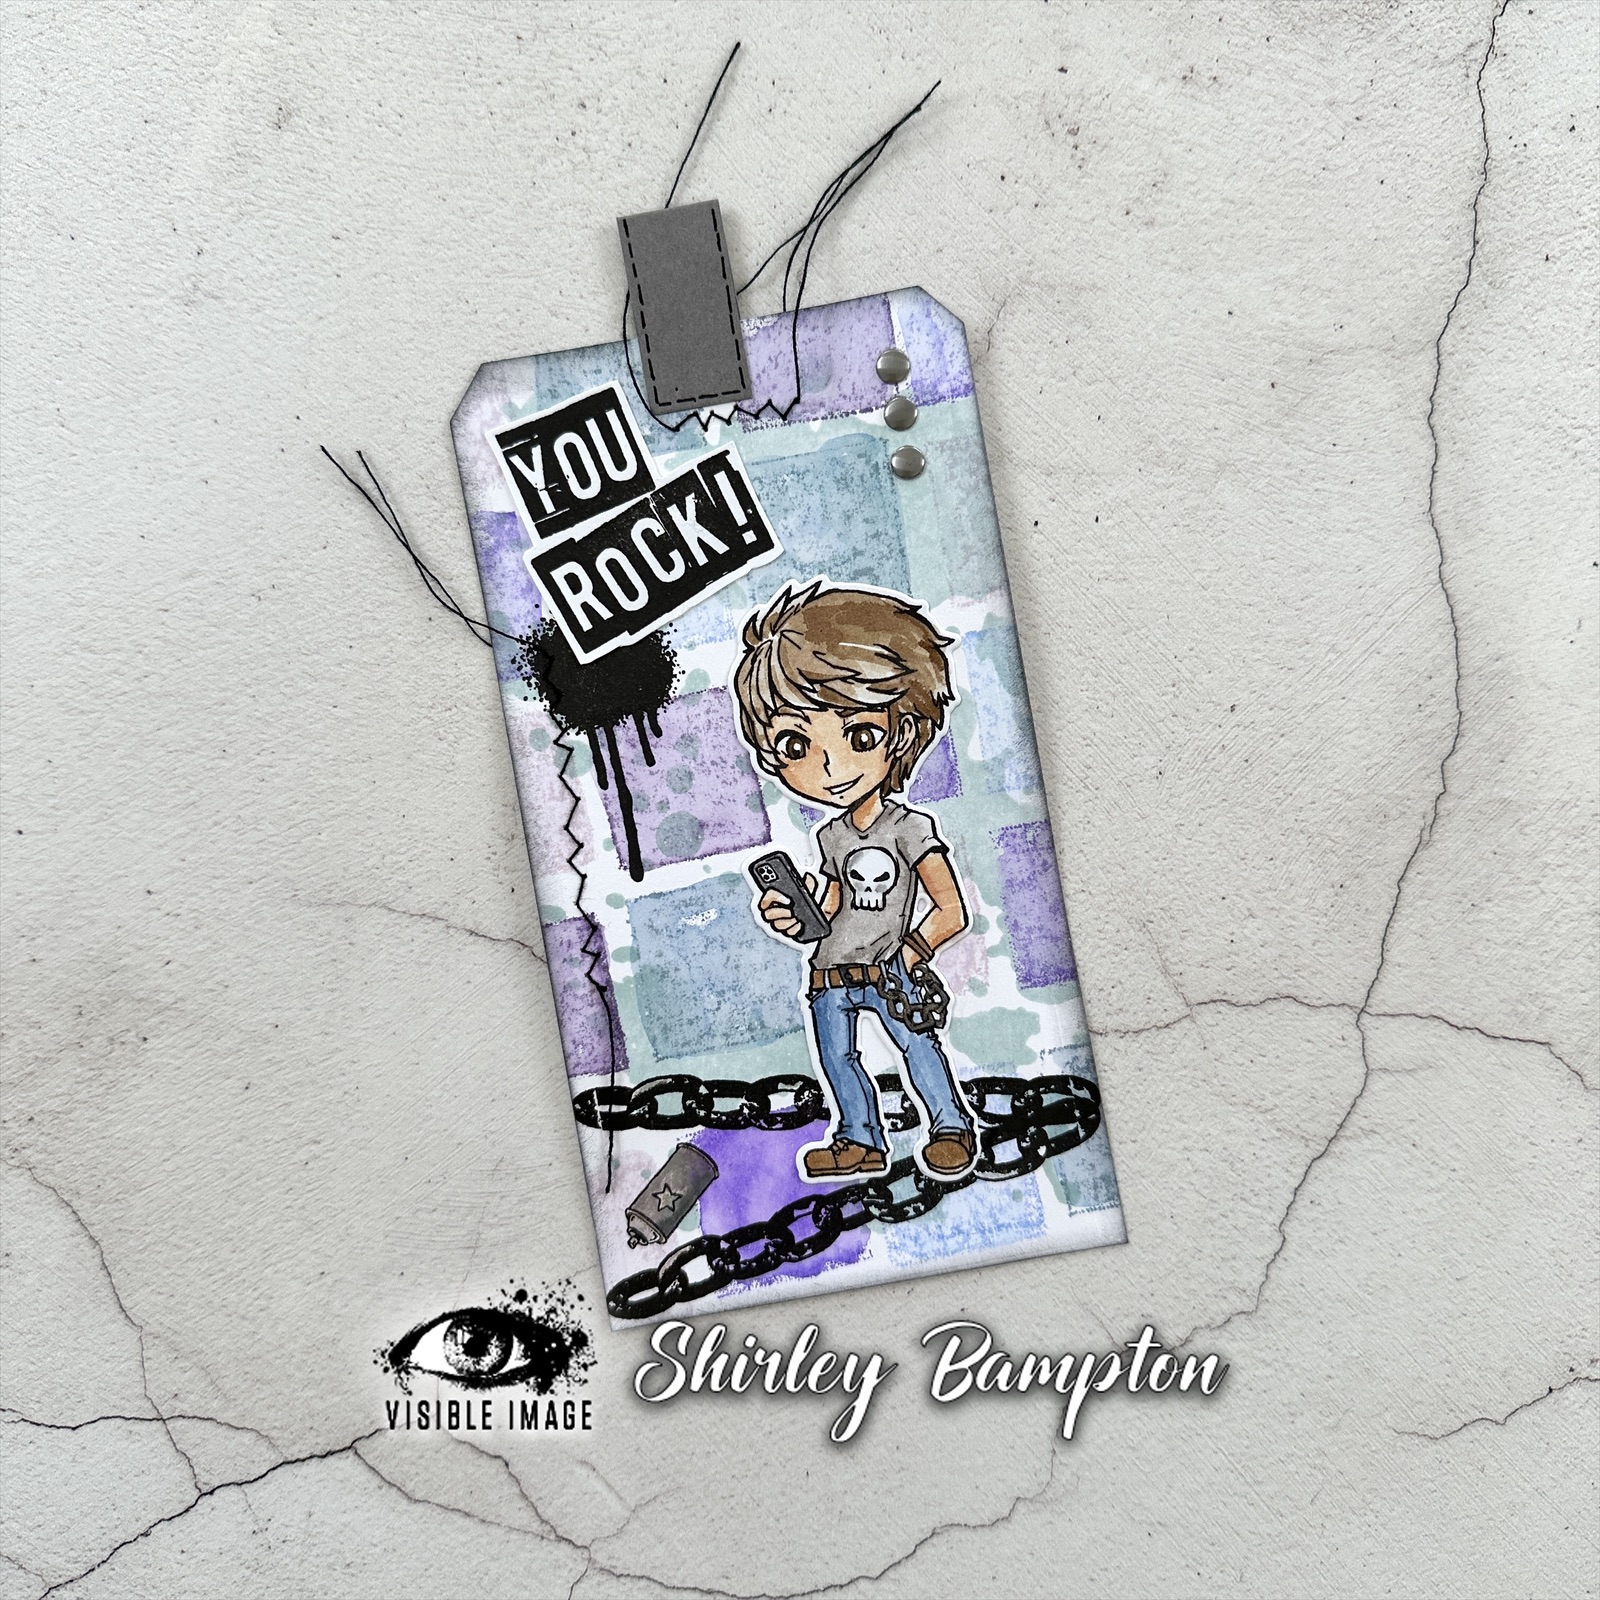
Hi, VI fans!  Our theme at Visible Image this week is Father's Day.  My dad was a keen gardener so I went with that as my starting point.

This mop-up piece was in my stash and it reminded me of sky and a meadow, and the splotches of brown made me think of impressionist paintings.


I wanted to add textured loose flower shapes in the foreground, so I mixed some Cosmic Shimmer paste with Picked Raspberry and Mustard Seed re-inkers.  The paste is quite old and drying slightly but that suited my needs perfectly because (a) I wanted texture and (b) the re-inker would moisten the paste a little.

I taped the Orbs stencil to the front of my panel and dotted the two colours of paste through, overlapping a bit, then mixed the pastes together for a last dab.

I removed and cleaned the stencil - it was drying so quickly that I could just scrape the excess off.  While the paste was drying I stamped the camera from Capture Every Moment onto white card, then cut it out and coloured it with grey for the metal parts, and blue and green upside down for the lens reflection.

I added the sentiment from Best Birthday Ever.  Finished card, you'd think?

Nope - I remebered that I'd wanted to use the Transmission Glitch stamps for a little background interest, but everything was now assembled.  Copy paper to the rescue.  I slid some under the camera and taped it down so that I could partially stamp the numbers on the right,

and the blocky image top right.

Then I moved the paper round and stamped the grid on the left.

Card complete!  Here's a close-up of the 'flowers'.


and the camera a lens with the reversed colours,


and the Visible Image products I used, which are available in the store here.


Wednesday, May 14, 2025

Visible Image - Messages of Congratulation


Hello!  This week's theme at Visible Image is Messages of Congratulations, and my brief is a non-card creation.  I decided on a masculine tag that could be attached to a gift bag or box, or indeed a bottle.

The starting point was this panel, which was in my stash.  Using Distress Mini Inks, I pressed them onto the card, then with a wet brush I moved the ink around slightly.


I cut the panel into a tag shape, and to break up the pattern I used the Splash stencil with Speckled Egg Distress Ink and a blending brush.


With the tag in the Misti I stamped the drip, chains and spray can using Versafine Onyx Black ink.


I stamped, coloured and cut Max Rocks, then added a bit of sparkle to his chain using a Sakura Jelly Roll clear star pen.


I also added a some sparkle to the spray can and a bit of sparkly highlight to the chain.


I added the 'You Rock' sentiment and three nail heads, then decided I wanted to add some stitching.  My craft mini sewing machine was at the back of the cupboard, and when I got it out, I couldn't get it to work.  One YouTube video and lots of muttering later, I did manage to get it going again, and added a couple of rows of stitching.  The tab was too thick for the needle so I drew some faux stitching with a fineliner.


To finish off, I sponged some Black Soot Distress Ink around the edges.  And there you have it, a masculine tag.  Pop on over to the Visible Image store where you can pick up these and other great stamps and stencils.


Wednesday, April 30, 2025

Visible Image - Just Because


Our theme at Visible Image this week is Just Because, so I made this clean and simple card - just because!

It looks like there's been a wedding down our street, with all the cherry blossom confetti strewn over the pavements and road, and with no rain to squish it down, it's been glorious!  So I wanted to create a card to remind me of the falling blossom.

I started by stamping the branch from Calm Over Chaos a couple of times using Memento Toffee Crunch ink.


I added a touch of colour to the blossoms with Worn Lipstick Distress Ink


In the bottom right-hand corner I stencilled a little square using the Windows stencil and Worn Lipstick.


Over the top of that I stamped the Chinese writing.  Fun thing to do - if you have a translate app on your phone, select camera, Chinese Mandarin Simplified to English, and hold it over the writing, and you'll get the translation. 


I added pink stamens to the centres of most of the blooms with a pink fineliner.


Then I blended Tumbled Glass and Broken China around the edges of the panel before mounting it onto my base card.


And there you have it, a pretty Just Because card.


All Visible Image products are available from the store here.  Happy stamping!

Wednesday, April 16, 2025

Visible Image - Flora and Fauna


Our theme at Visible Image this week is Flora and Fauna, which is very timely, because the flora and fauna near me think it's summer already with all the sunshine we've been having.  In particular, the magnolias have been stunning, and I wanted to capture their magnificent blooms.  

I started off by stamping the main image from Total Chaos onto masking paper a couple of times, then stamped the first magnolia in the bottom left corner of my piece of card.  I masked that, then stamped the second flower offset and above, then masked that and stamped the third.  I used Vintage Photo Archival ink instead of my normal black waterproof pigment ink.


Masking the flowers off as necessary, I stamped the leaf three times in Peeled Paint Distress ink.


Then using Distress Inks as watercolour paints, I sloshed some colour onto the flowers and leaves.


The archival ink outline meant that it wouldn't run into the colour on the flowers, but on the leaves I used the same Peeled Paint Distress ink to watercolour them and drag the colour in, but left any inner circles white.  Using watercolour pencils, I added a blue border around the images to represent sky.


The birthday sentiment is from Birthday Wishes.  I stamped it in Catherine Pooler Sixteen Candles ink, then a second time with Pixie Dust, only inking the lower half.


I folded a piece of brown A4 card to A5, then stencilled some leaves around the edges using Brilliance Lightning Black ink, which has gold pigment that really shows up well on dark card when the light catches it.


Then I mounted the front panel onto the card.  I didn't even need to splatter any ink over the design because the splatters are built into the stamps.


In my stash I had a sheet of butterflies from Wings of Change that I had already painted in similar shades.


I took the smallest one, added a bit of Picked Raspberry to the edges and cut it out, then mounted it onto the card panel, folding it back slightly.


Here's a look at the finished card with the stamps and stencil, which are all available in the Visible Image store.


Wednesday, April 02, 2025

Visible Image - Mindfulness


Our theme at Visible Image this week is Mindfulness, and for my non-card assignment I've made two bookmarks (although they could just as easily be tags).  I prefer physical books to e-readers, so bookmarks
are a necessity for me.

I wanted the main focus of my bookmark to be half of the huge butterfly from the Butterfly Effect set, along with the sentiment "every single thing you do matters".  But I can't just stamp half a butterfly so I positioned it fairly centrally on a piece of A5 watercolour card, then inked it with Distress Stains.


I spritzed the watercolour card before stamping, which allows the stain to bleed out over quite a large area.  The advantage of using a stamping platform is that you can re-ink and re-spritz any areas that didn't get enough bleed.


Once it was dry I added some pearlescent paint from the new metallic paints set to the central area of the wings.


Then using Distress Inks in the same colours as the stains, I inked the butterfly and re-stamped it to give definition.


I chose Shabby Shutters, Crushed Olive and Salvaged Patina for the background to represent sky and greenery.


Using the same inks I stamped the background stamps a few times, and the small butterfly and sentiments in black.  You can also see where I've used the Windows stencil in a few areas.


I also used the large stamp from the new Particle stamp set, which is a great background set.


Because I wanted the butterfly at an angle I couldn't just cut the panel exactly in half, but who says what size bookmarks have to be anyway?  I flicked some of the aqua metallic ink over the two panels, along with some white gesso.


I mounted both panels onto purple card for stability, punched holes and added reinforcer rings, and added some coordinating fibres.


Here's a close-up of the first bookmark,


and the second one:


The stamps and stencils are available on the Visible Image website here.